How do I format a USB Flash Drive to NTFS file system?
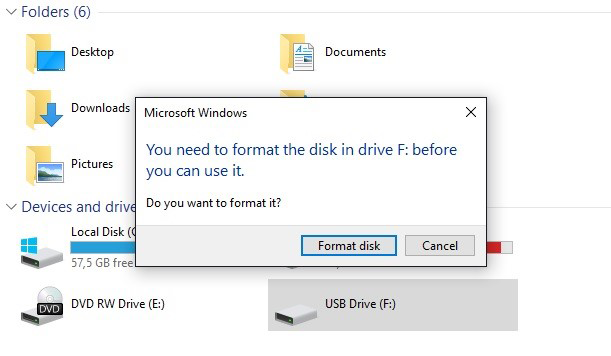
Formatting a USB drive is an easy and straightforward process. However, there are some settings one needs to check before formatting it.
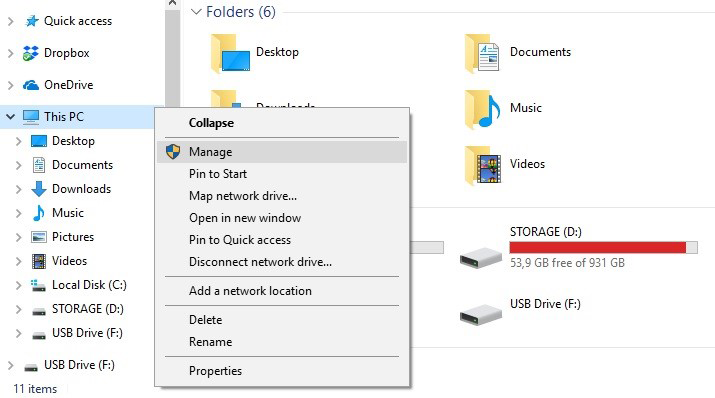
To enable NTFS on your USB Flash Drive drive (USB Flash Memory) click on My Computer (This PC) and select Manage.
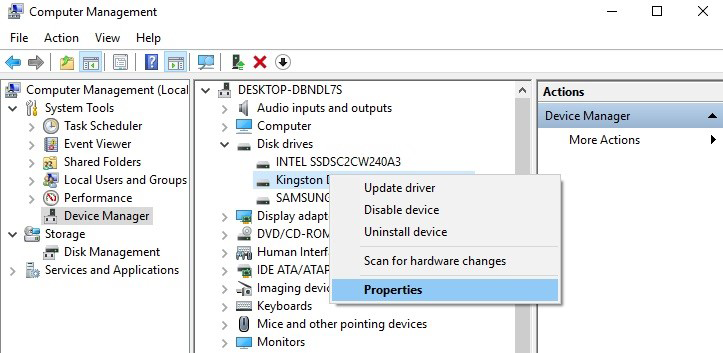
Open the Device Manager and find your USB drive under the Disk Drives heading. Right-click the drive and select Properties.
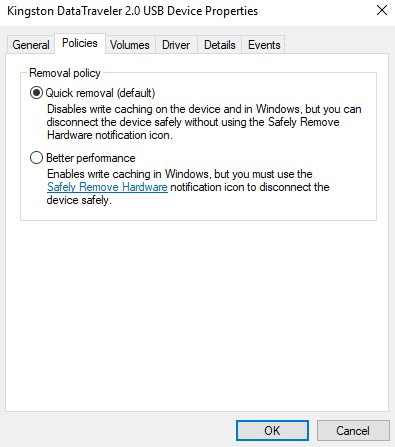
Here’s what we are looking for. By default, the setting for formatting your drive is set to Quick Removal. With Quick Removal, you can remove your USB at any time without damaging your files on it. As long as you are not moving any data from or to it of course.
Better performance setting enables write caching in Windows. This means that you will have to use Safely Remove Hardware notification to disconnect your device safely.
Choose the setting you think it will suit your needs best and click OK.
Open My Computer > Select Format on the flash drive.
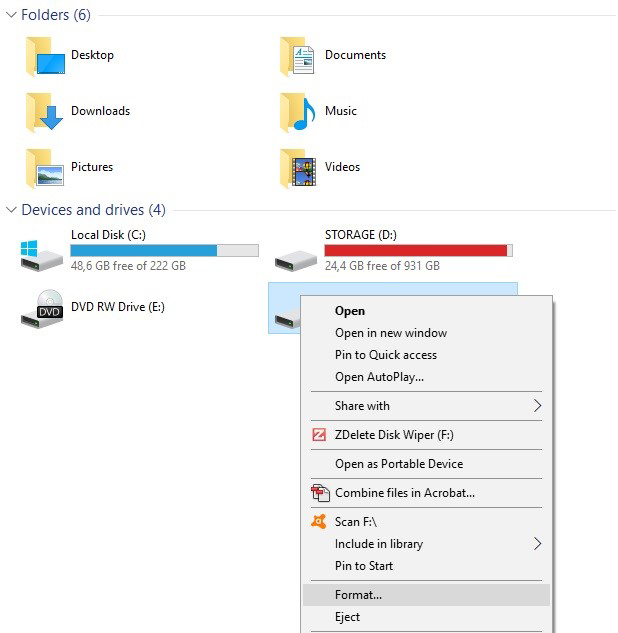
Choose NTFS in the File System drop-down box.
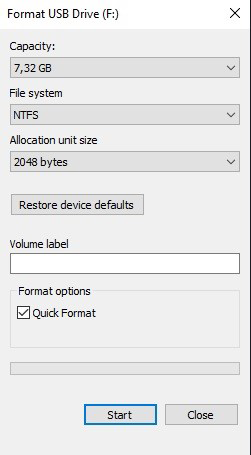
Click the Start button and wait until finished.
If you have formatted your USB using Better Performance policy to remove a device safely without data loss use a "safely remove hardware" procedure or Eject function from Windows Explorer.
Windows Was Unable To Complete The Format/ Please Insert a Disk Into USB Drive Error.

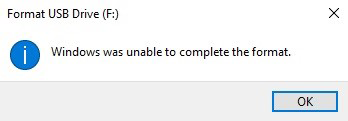
If you have encountered this error while trying to format your USB have no worries we got you covered. The problem is that your USB device needs to be initialized which can be done quite easily with LSoft’s Boot Disk Creator which comes embedded within Active@ BootDisk.
Download Free Active@ BootDisk
Download and install Active@ BootDisk. After that, run Boot Disk Creator.
As you can see from our example Boot Disk Creator doesn’t see the USB drive. But fear not, click on Initialize Disk.
Bear in mind that performing disk initialization will delete all of the data on your drive!
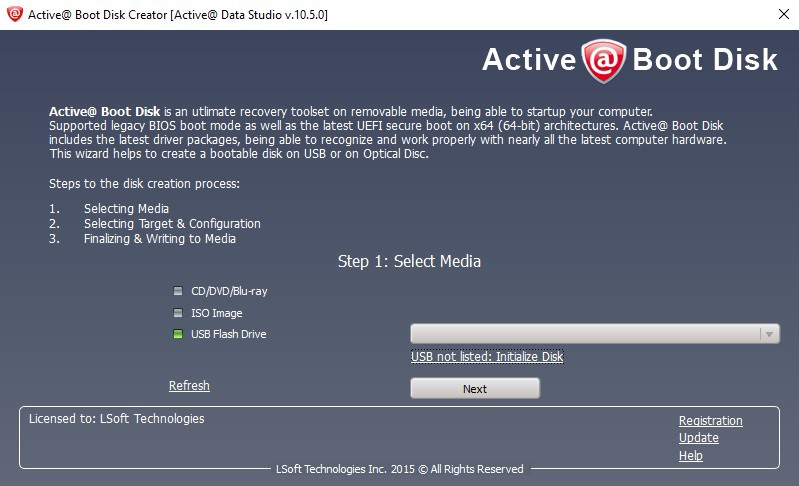
A new small window should appear where you can see your previously invisible USB. Click on Start.

In a few moments, your USB should be Initialised.

Voilà! Boot Disk Creator has initialized and formatted your USB to NTFS format and it’s ready for use.

